Total Flap Control: Tension-Free Flaps
By Randi Brannan, DVM, DAVDC

Mucoperiosteal flaps enable visualization for open root planing and surgical extractions. They permit the closure of oronasal fistulae and extraction sites by providing ample tissue to suture over the defect. In the case of extractions, the closure of the defect will help to maintain a blood clot in the socket (alveolus) which will keep the bone moist, prevent a dry socket, provide postoperative comfort and return the patient to function sooner.
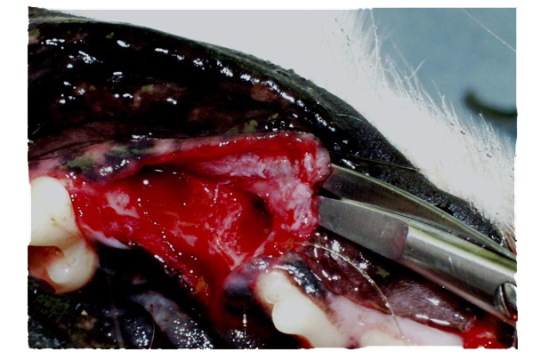
Time, patience and gentle tissue handling, in addition to a properly shaped and sharpened periosteal elevator, are the keys to success in flap elevation. The flap is elevated from the bone in full thickness by peeling the periosteum from the bone. This will leave a two-ply flap of mucogingiva and periosteum. The stiffness or tension of the flap is the unyielding periosteum on the underside of the mucosal portion of the flap.
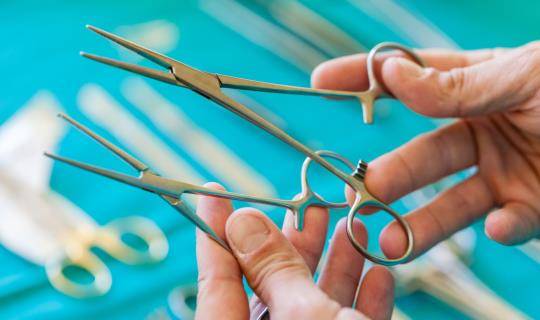
After the necessary extraction is complete and the alveolar bone prepared, the flap has to be mobilized to close the extraction site. It must be tension-free with sufficient movement to predict a positive outcome. The secret to flap mobilization and advancement is the selective severing of the stiff periosteum while preserving the supple mucosa. This can be accomplished with a scalpel blade or a good pair of flap scissors. The disadvantage of the scalpel blade is that it can easily cause a perforation of the flap through the mucosa. A pair of blunt-tipped dissecting scissors is a safer alternative for periosteal severing. Gentle traction on the flap is helpful to gain a tactile sense of the tension release afforded by the periosteal severing. The use of a pair of delicate Adson 1x2 thumb forceps is recommended.


Start at the mesial or distal aspect of the flap base. Insert the scissors between the periosteum and the buccal mucosa with the tips together, bluntly dissecting to create a tunnel. Remove the scissors from the tunnel and reinsert one blade of the scissor to separate the two planes of tissue, cutting the periosteum (the deep layer) and preserving the mucosa (the superficial layer). Once the periosteum is cut, blunt and sharp dissections are continued along the base of flap.
When the flap is sufficiently mobile, it will completely cover the defect created by the extraction with slight overlap and will remain there without instruments or suture to hold it in place. When this level of flap mobility is achieved, the edge of the flap and the lingual or palatal margins should be trimmed. The flap is then sutured in place.
Suture selection and placement in the oral cavity are important. It is critical to plan your suture material, pattern, spacing and tag length appropriate to the situation. The suture material is either monofilament (poliglecaprone), braided (polyglactin 910) or twisted (chromic gut). The most common suture pattern is a simple interrupted pattern. Care must be taken not to invert, overlap or evert the tissue. The goal is to appose the gingival and mucosal edges of the tissue to promote healing. Suture the corners of the flap first to ensure the flap covers the entire site without tension. Once those sutures are in place, the mucosa can be sutured from the gingival margin to the mucosal base of the flap. The sutures should be placed 2-3mm from the edge of the gingiva and 3mm apart leaving 3mm suture tags.
Extractions must be treated as surgical procedures, with all the associated challenges and difficulties. Careful planning combined with proper flap design and technique will ensure a successful outcome.


