All tied up: A review of suture knots
By Kristin A. Coleman, DVM, MS, DACVS
While the most commonly tied knot in surgical suturing is the traditional square knot, there are several others to know that will make any surgeon’s life easier. From purposefully tying a slip knot when placing a first throw across a gap with tension to using a hemostatic (or binding) knot to use as a first throw around a vascular pedicle, there are knots for every occasion and ways to enhance knot security. Knowing when to use specific knots and how to do them well may make the difference between a successful surgery and a complication.

The most fundamental knot to first review: the square knot. This is a basic knot but involves precision to perform efficiently. One of the aspects to consider is the type of suture with which the knot is being tied. A multifilament suture, such as silk or Securosilk, allows for a less precise technique due to the lack of deformation of the braided material. However, a monofilament suture, such as poliglecaprone-25 or Securocryl, requires exact placement of the throws due to the plastic deformation of the material required to tie a secure knot.

Figure 1a.
The first throw is passing one strand under another strand being pulled in the opposite direction with even tension and with approximately equal moment arms. This is being performed with needle holders and is known as an ‘instrument tie’.

Figure 1b.
The second throw is pulled horizontally with even and constant tension to slowly secure a square knot.

Figure 1c.
A proper square knot will be able to set tightly and without slipping.
A useful knot to utilize when the goal is to appose tissues under slight tension is the slip knot. While this is a knot avoided but occasionally thrown in error when attempting a square knot, it is more efficacious and with less suture bulk compared to the incorrectly yet commonly thrown surgeons’ knot. This knot is essentially the same idea of a square knot, but instead of evenly applied horizontal tension on the 2 strands, tension is only applied to one strand while the other is left loose until the point at which a knot is desired. Then, tension is applied to both strands horizontally to ‘lock’ and form the final product, a square knot.
Figure 2a.
The first throw of a slip knot is performed the same way as if a square knot is being performed.
Figure 2b.
The second throw of a slip knot is also performed the same way as if a square knot is being performed, but the tensions then vary.

Figure 2c.
The slip knot can be directed in either direction for securing the eventual knot, which can either form a ‘reverse D’, as in this figure with tension applied to the strand in the surgeon’s hand and a loose strand with the instrument.

Figure 2d.
The slip knot can also be directed to form a ‘D’, as in this figure with tension applied to the strand with the instrument and a loose strand in the surgeon’s hand.

Figure 2e.
The slip knot should always have constant tension applied to one strand with the ‘D’ or ‘reverse D’ being pushed down as the knot is being placed across a wound with tension, as with the instrument in this figure, and remain loose in the other strand until the desired tension is reached, at which point the strand in the surgeon’s hand would have tension applied.

Figure 2f.
When both strand have even tension applied in a horizontal direction, the slip knot is complete with a secure knot resulting. The benefit of this knot is being able to direct the timing of knot placement in a knot being tied under tension.
When adding to a knot-tying armamentarium, knowing one type hemostatic or binding knot is a time-saver, especially when wanting to ligate a vessel cluster or uterine body with one ligature. The difficulty bypassed by this type of knot is that the initial throw of a square knot can loosen as a result of elastic recoil prior to placing a second locking throw to complete the square knot. An AJVR 2014 study by Hazenfield & Smeak compared 6 different hemostatic knots and their ability to adequately ligate and maintain tension placed on the first throw on a fluid-filled tube that acted as a blood vessel. This study concluded that there were 3 efficient hemostatic knots, the Strangle, the Miller’s, and the constrictor. It also revealed the lack of first throw security using a surgeons’ knot. To perform the Strangle knot, see the steps below in each of the figures.
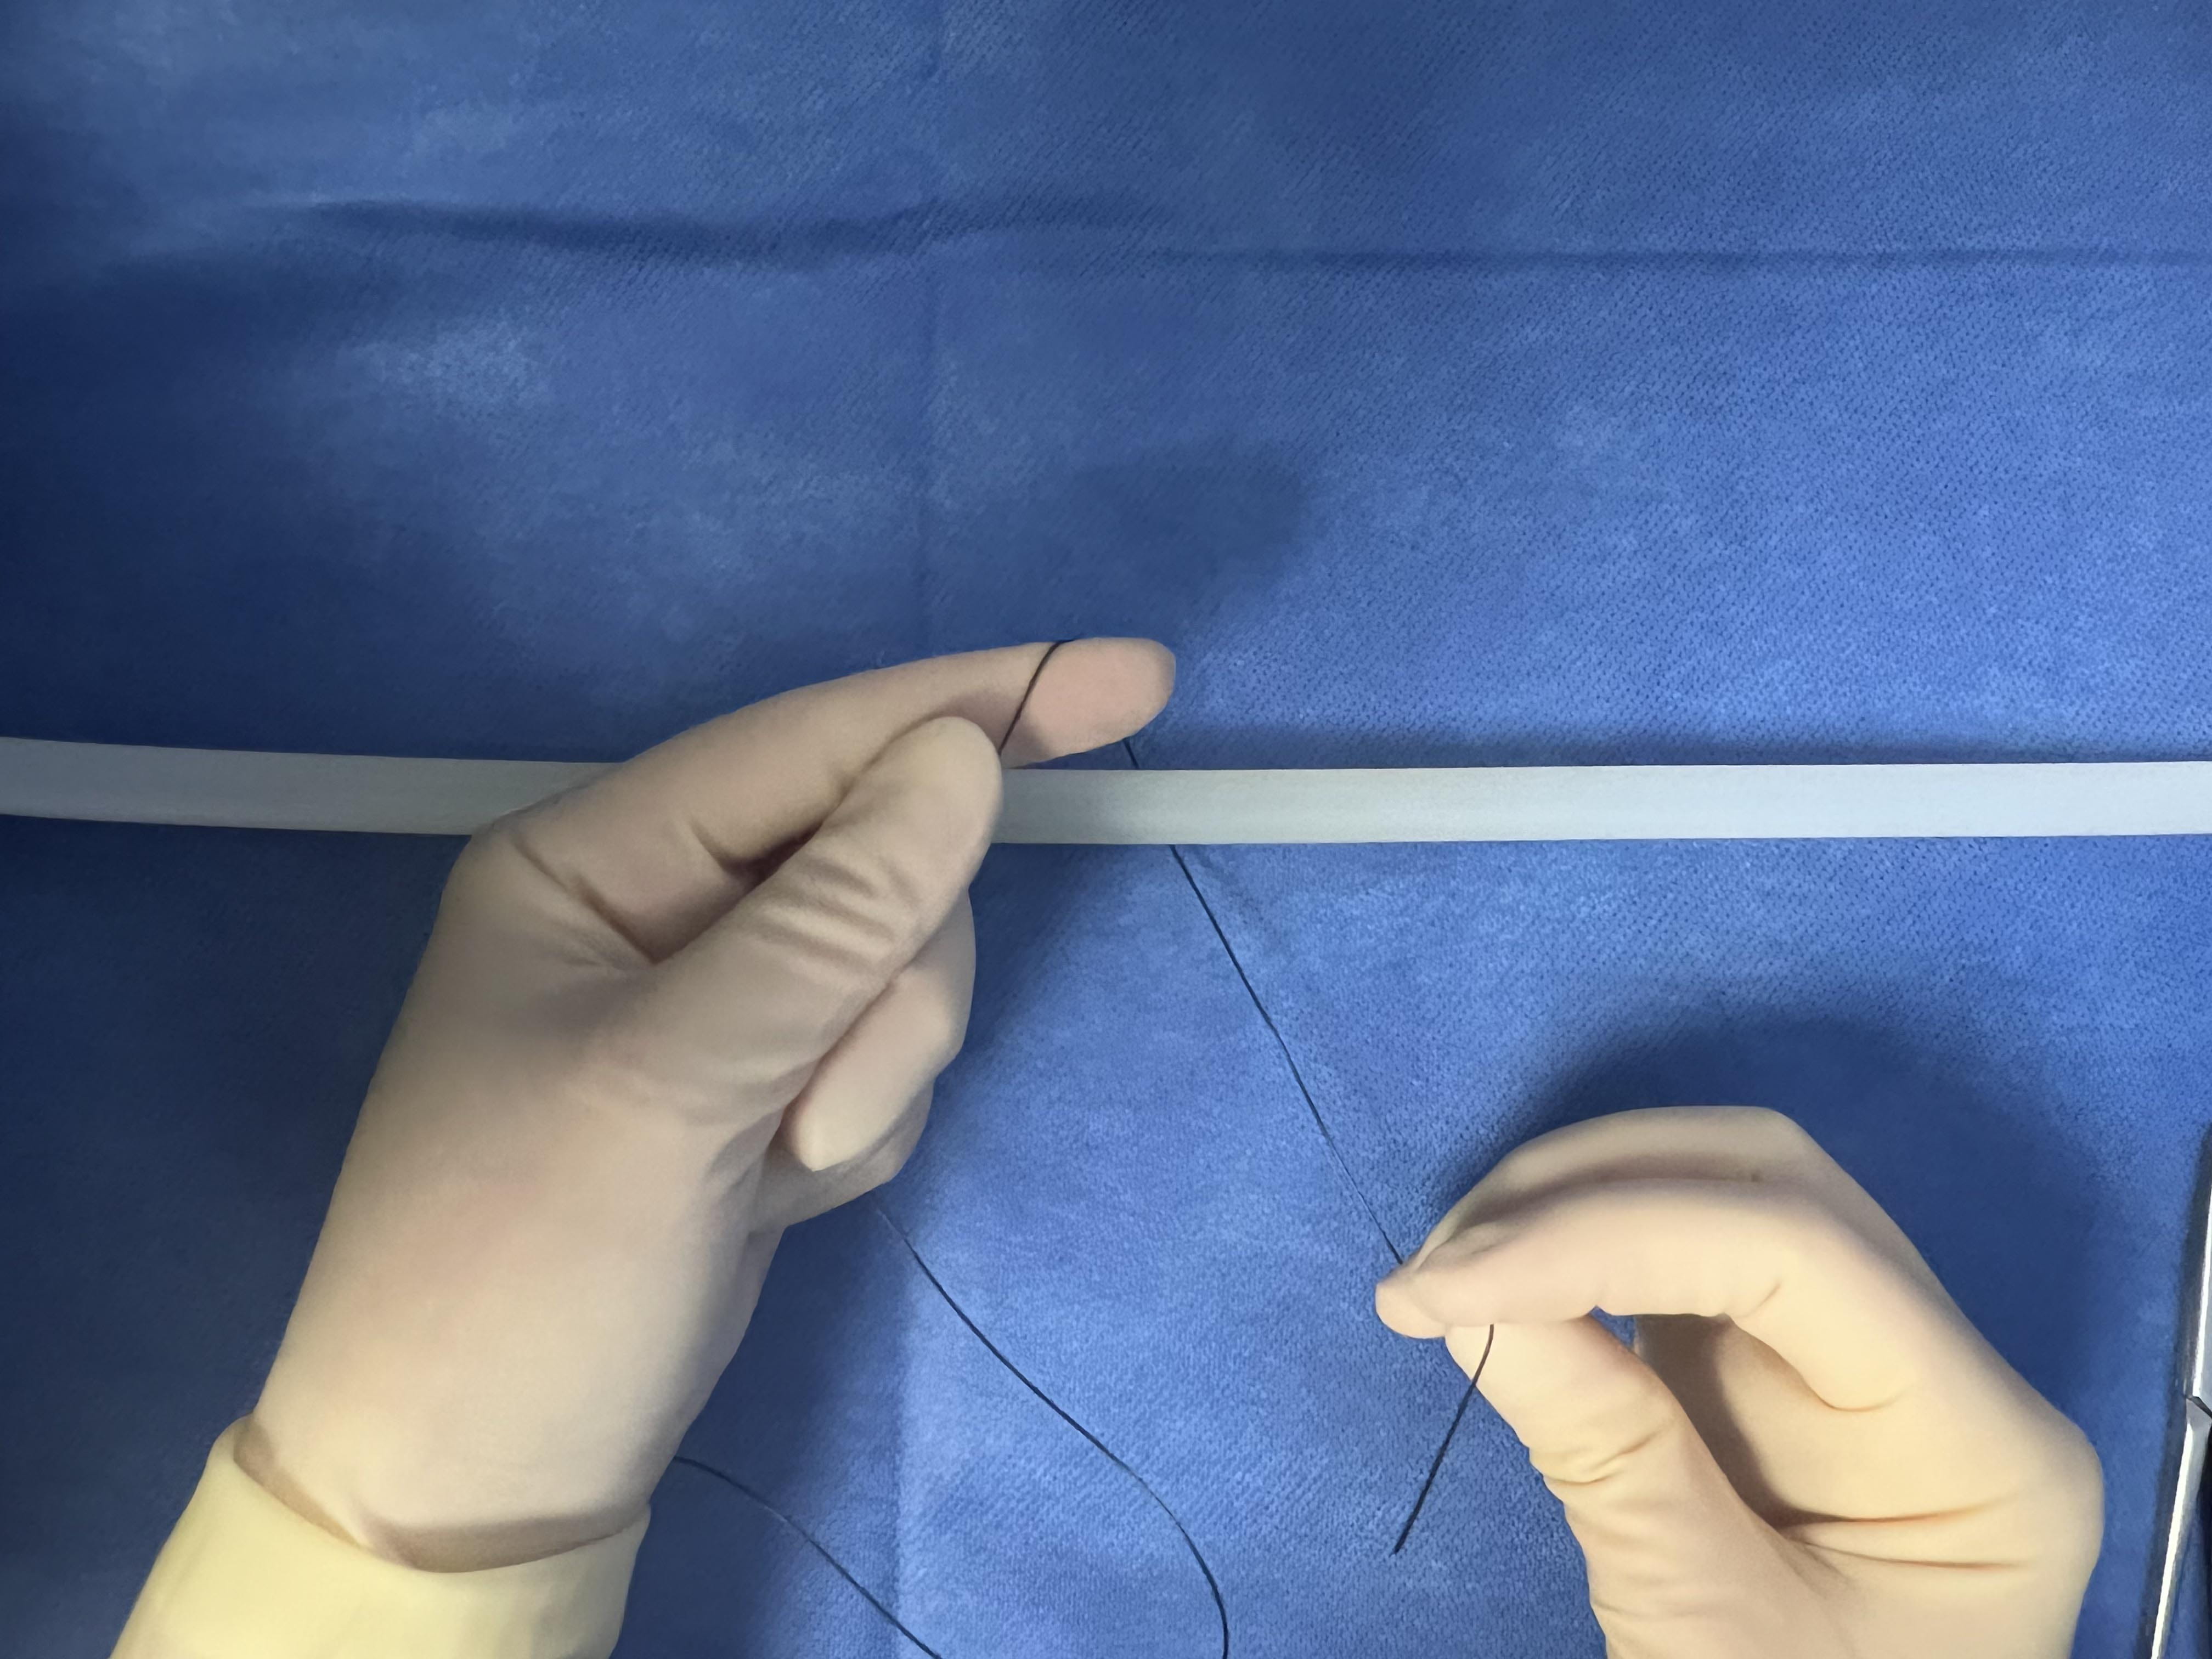
Figure 3a.
With the long portion of the strand held in the non-dominant hand, the shorter strand is passed above and under the vessel to be ligated with the dominant hand.

Figure 3b.
The short strand is passed back above the vessel to be ligated, which forms a ‘X’ shape over the surgeon’s finger.

Figure 3c.
The short strand is then passed again under the vessel.

Figure 3d.
The short strand is then positioned on the opposite side of where it has been passed, which is toward the non-dominant hand.
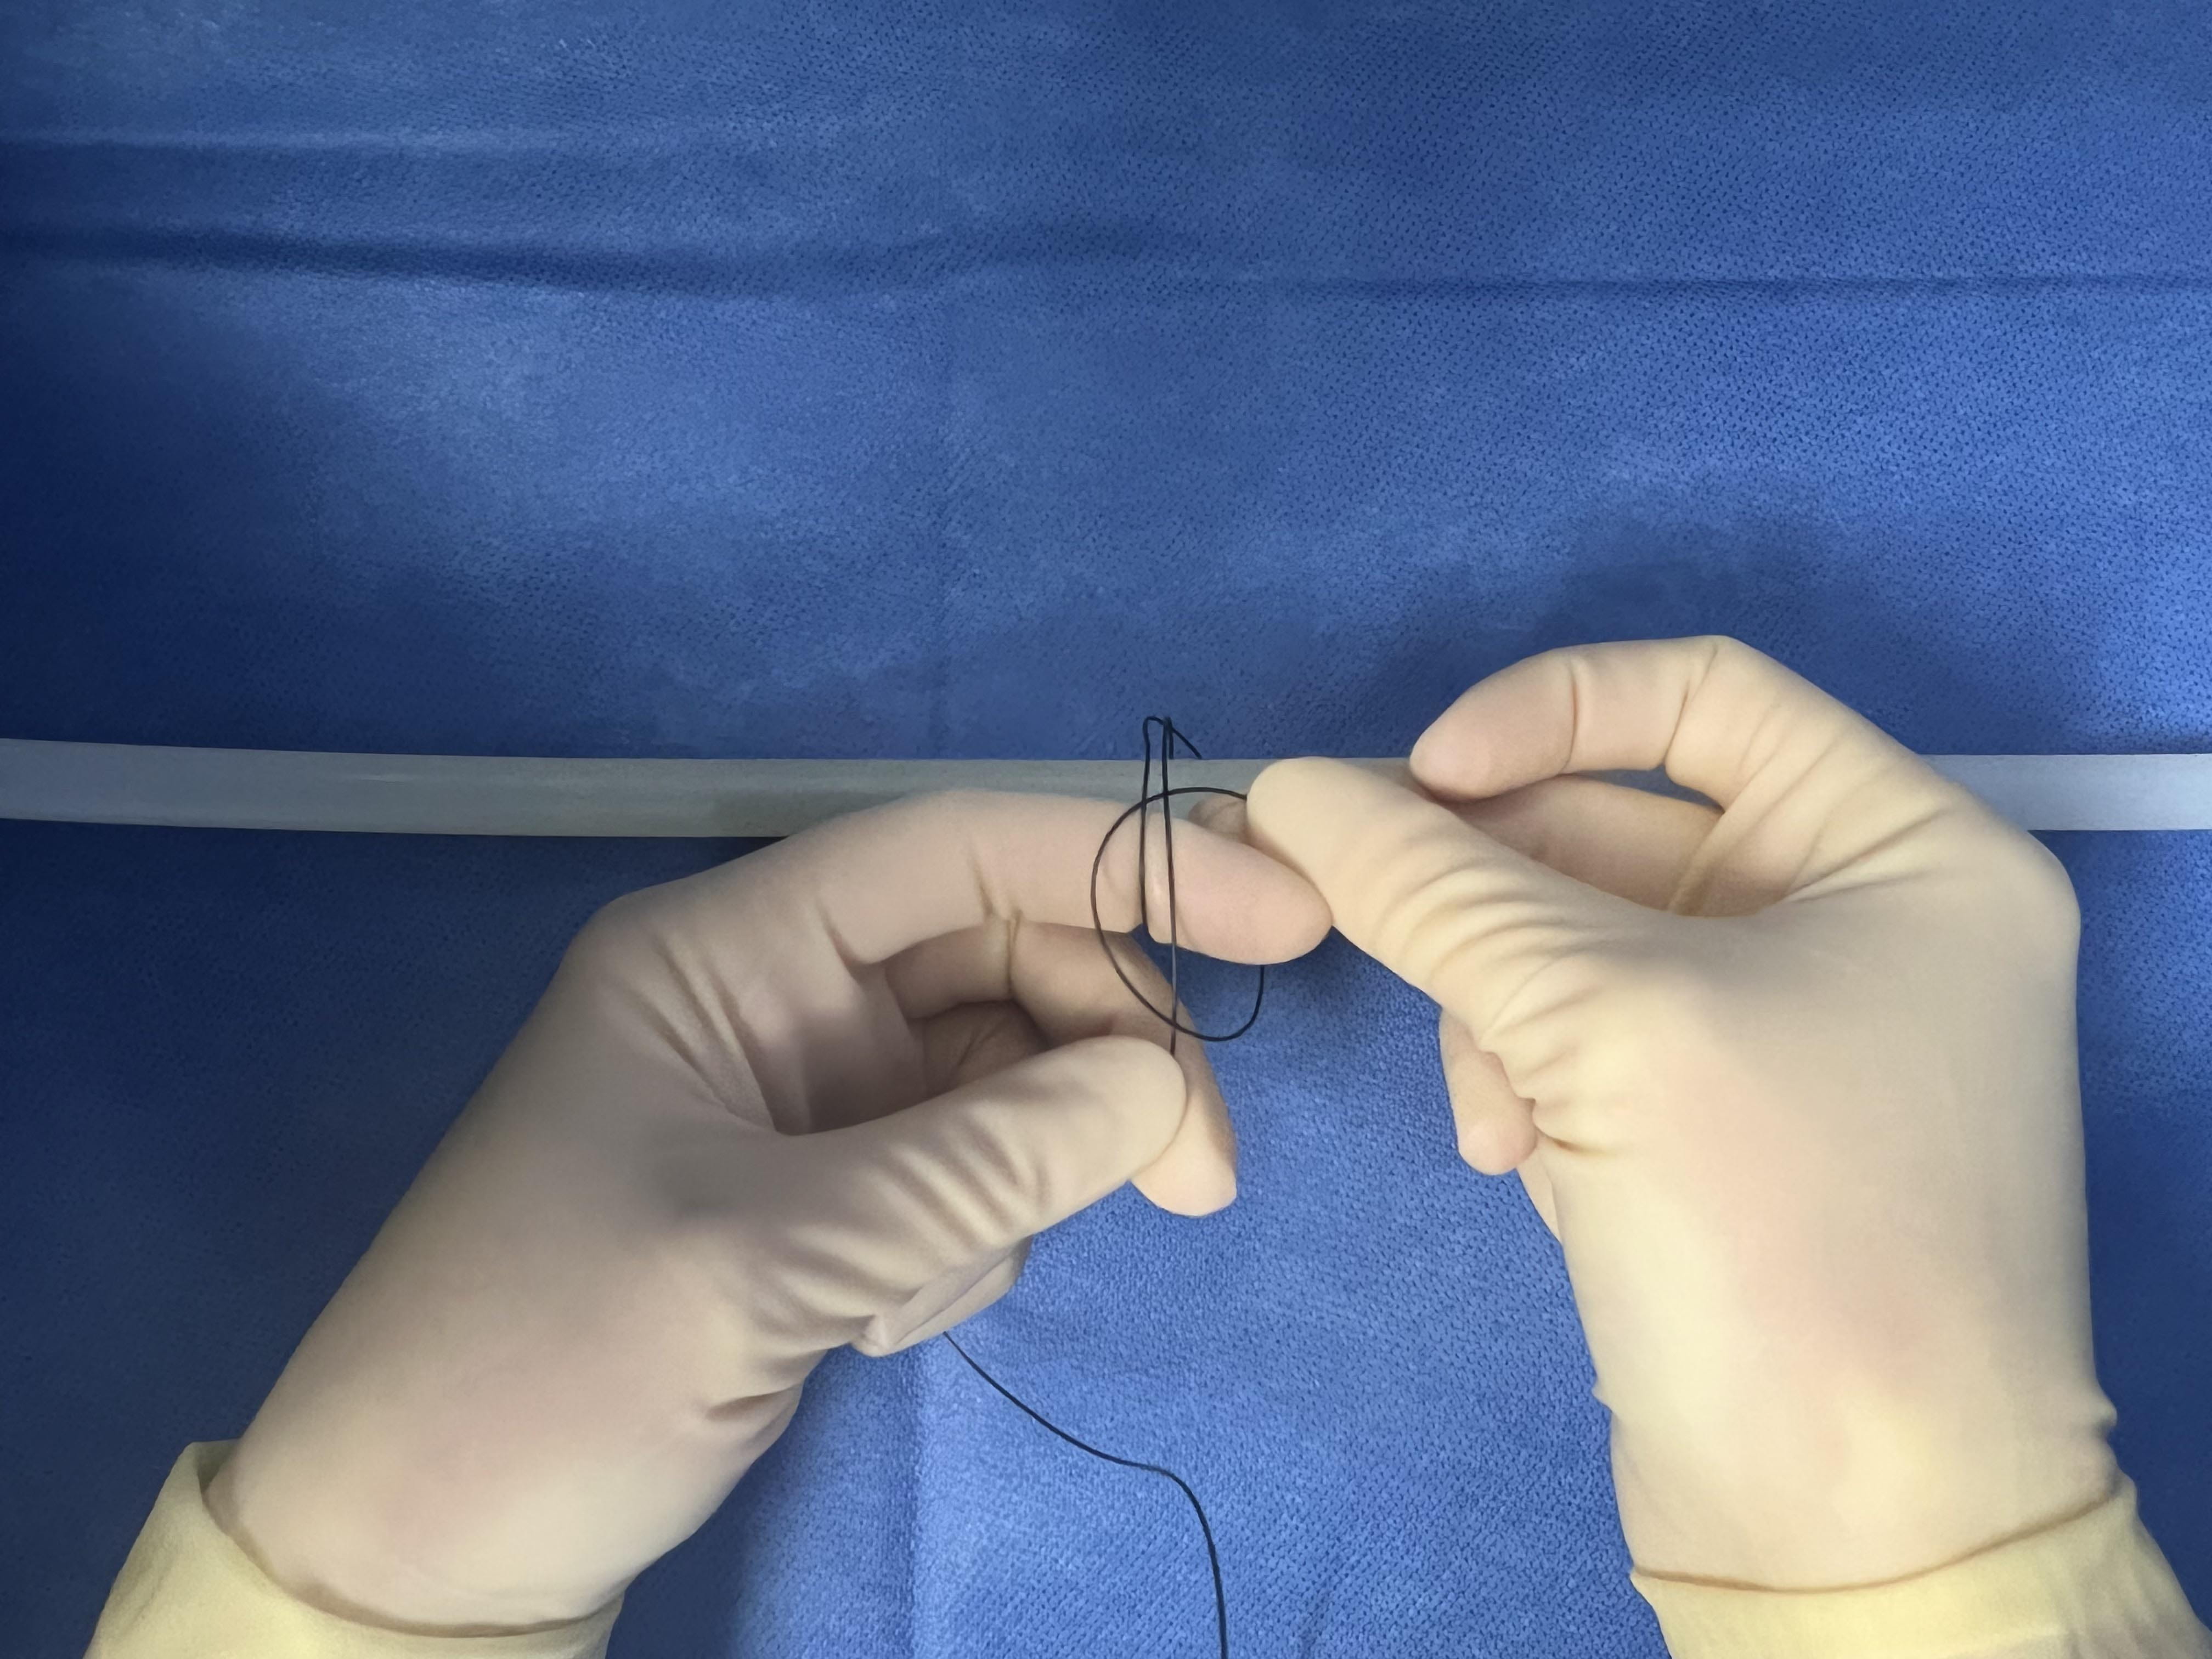
Figure 3e.
The short strand is then passed under the entire ‘X’ shape and pulled in an opposite direction from the long strand.

Figure 3f.
The strands are pulled evenly and horizontally.

Figure 3g.
The strangle knot first throw is complete after pulling it taut. Even if tension was released on both strands at this point, the security would occlude the vessel contents and adequately maintain the ligation until additional 3 throws were applied to finish the entire knot.
Topics:
Veterinary practices